

02 Sep How to Remove UV Stickers
How to Remove UV Stickers: A Complete Step-by-Step Guide
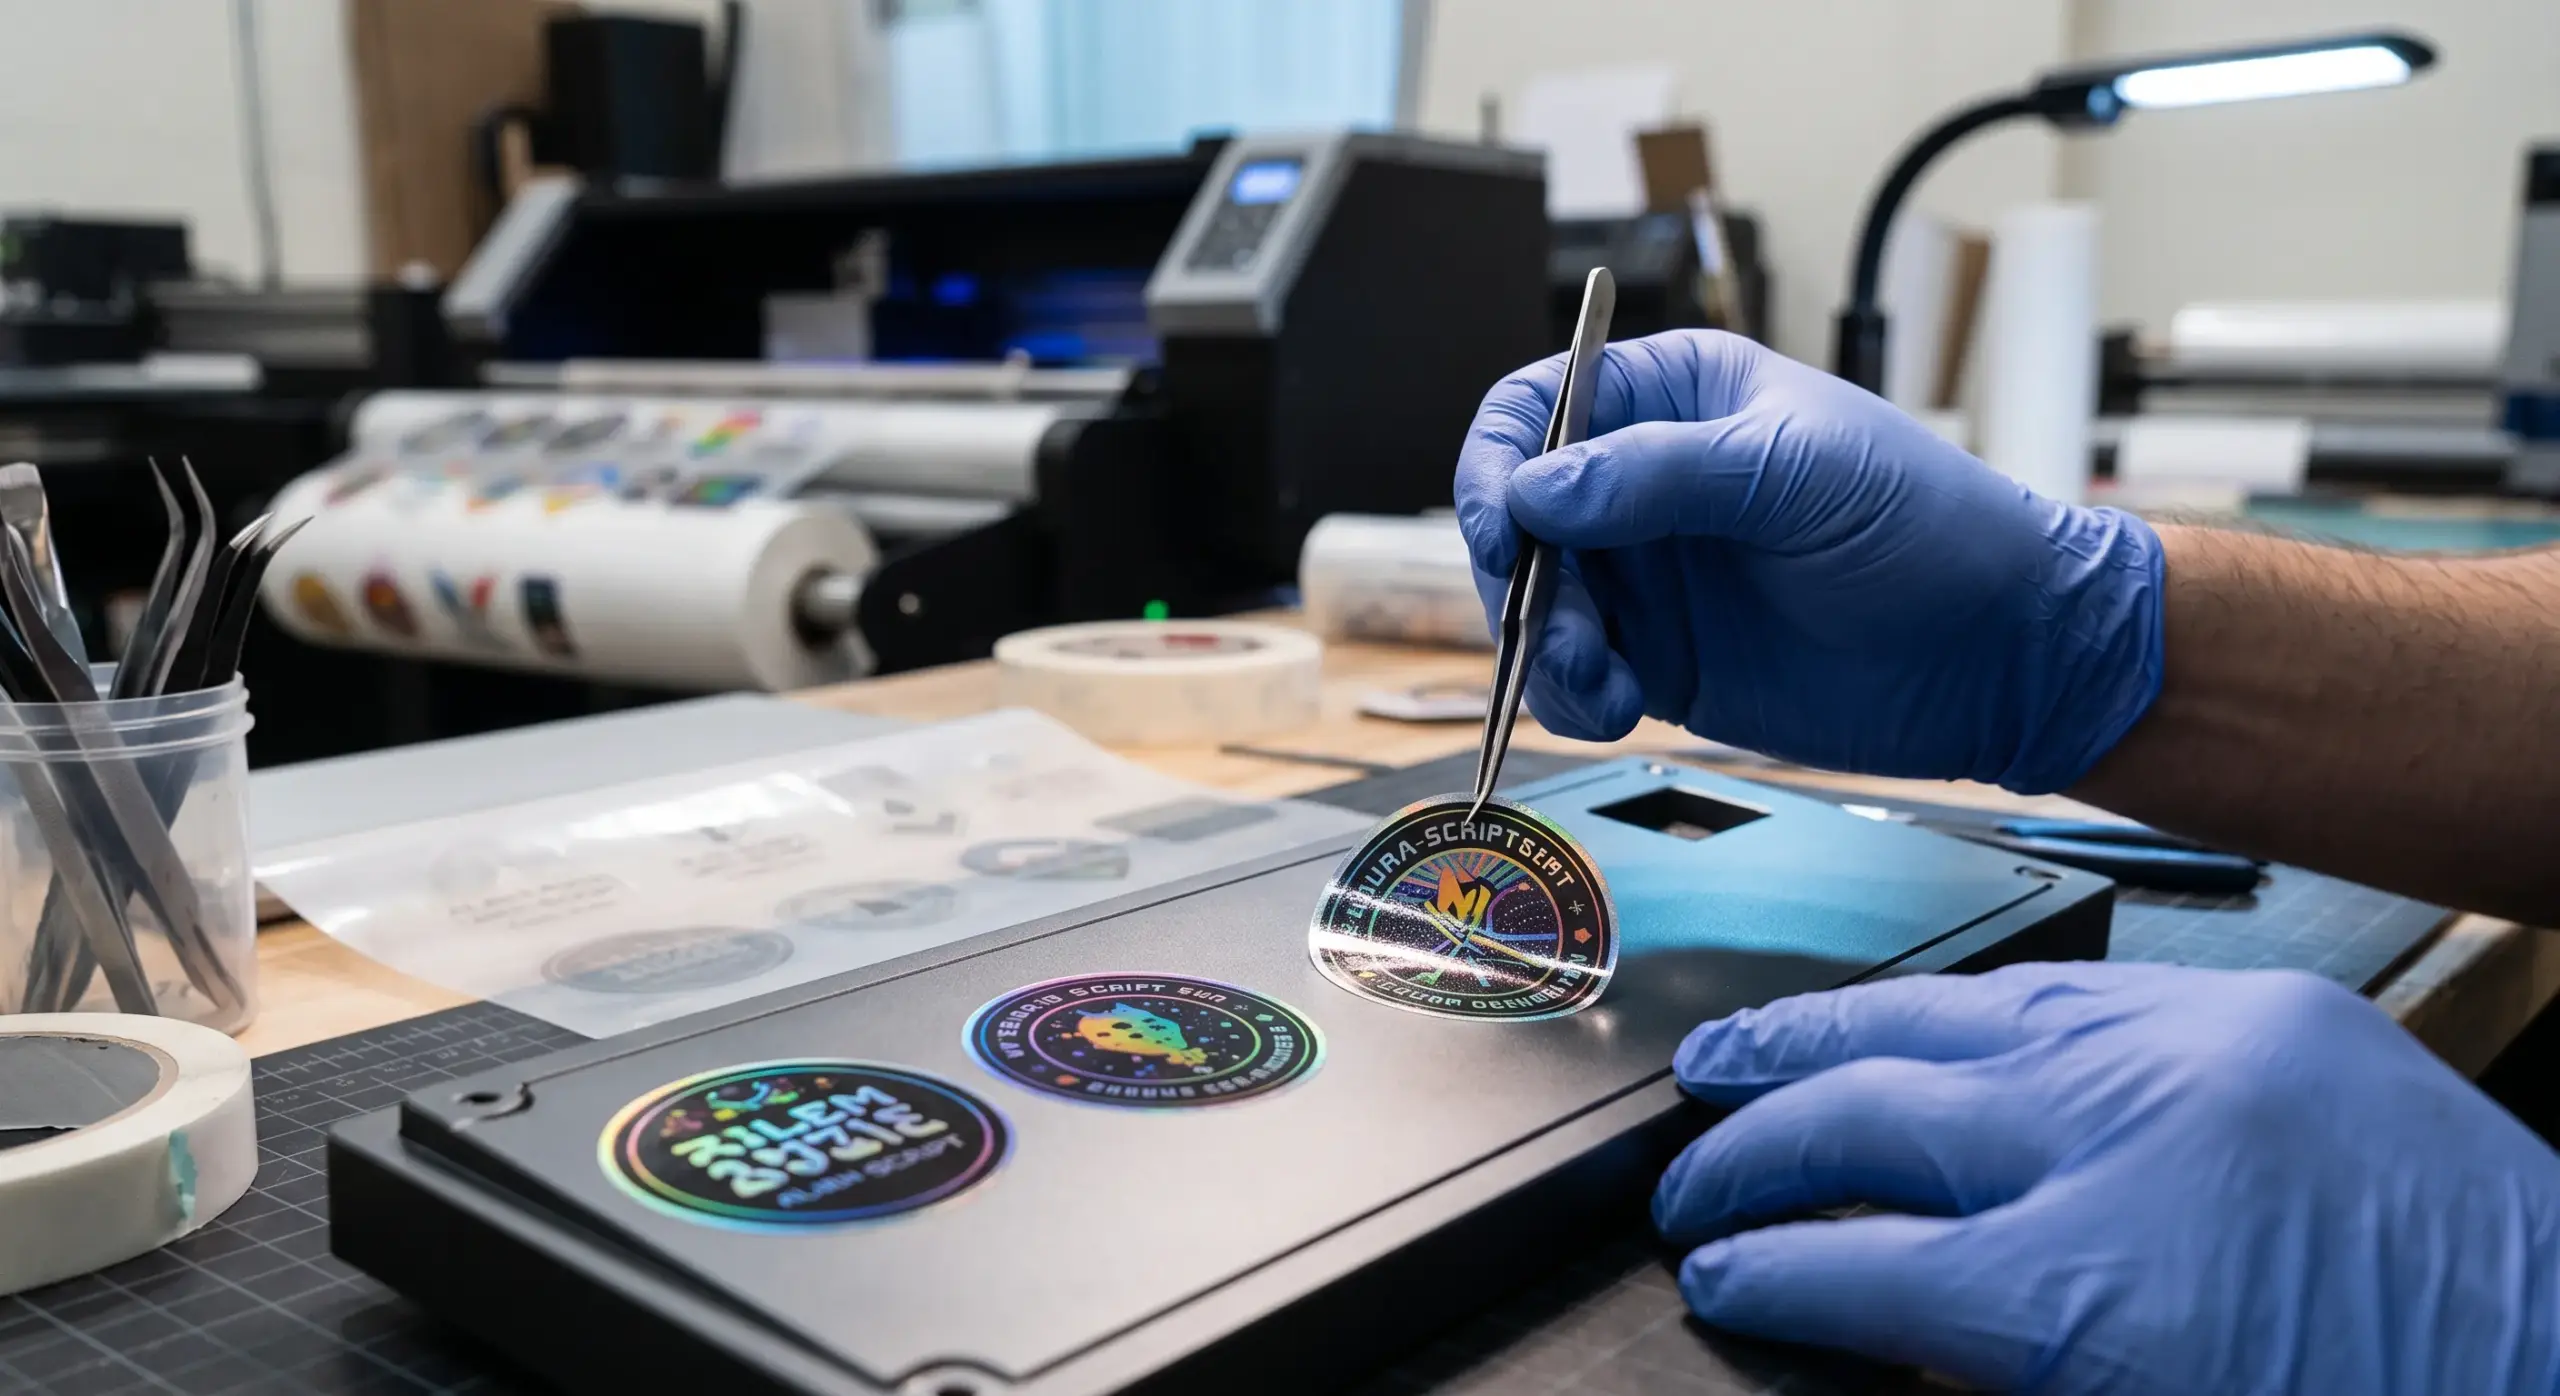
UV stickers are known for their exceptional durability, waterproof properties, and scratch resistance. But what happens when you need to remove one? Whether you’ve applied a sticker slightly crooked, need to rebrand your products, or want to reuse a mug or tumbler, removing UV stickers requires the right technique. At Krayon, we specialize in UV sticker printing in Nairobi, Kenya, and we understand that sometimes removal is just as important as application.
UV DTF (ultraviolet direct-to-film) stickers are semi-permanent by design. Strong enough to last through daily use, they are not indestructible, and with the right approach, you can remove them cleanly without damaging the surface underneath. Here’s everything you need to know.
Why Are UV Stickers Harder to Remove Than Regular Stickers?
UV stickers bond differently than standard vinyl stickers. During printing, UV-cured inks are hardened with UV light, making them tough and scratch-resistant. The transfer film carries a strong adhesive that grips hard surfaces like glass and metal. Once applied, the adhesive locks into microscopic pores on the surface, creating a semi-permanent finish.
Unlike thermoplastic adhesives that can be melted and reformed, UV-cured adhesives are thermoset — once the chemical reaction is complete, the molecular chains are permanently locked. This means the adhesive won’t simply melt with heat; it requires either mechanical force, chemical interference, or thermal energy to break the bond.
How to remove UV Stickers
Method 1: Apply Controlled Heat
Heat is one of the most effective ways to remove UV stickers, especially from glass or metal surfaces. Heat softens the adhesive and makes peeling easier.
What you’ll need:
-
Heat gun or hair dryer
-
Plastic scraper, old credit card, or nylon pick
Steps:
-
Set your heat gun or hair dryer to medium — not high
-
Hold it 2 to 3 inches from the transfer
-
Move slowly in even circles for 20 to 30 seconds
-
Watch for the transfer to look slightly glossy or soft — this means the adhesive is loosening
-
Slide a plastic scraper or old credit card under one corner
-
Peel slowly at a low, flat angle, pulling the film back over itself rather than straight up
-
If it tears, apply more heat and try again
Important: Glass and metal handle heat much better than plastic. If you’re working on a plastic tumbler or acrylic blank, keep your heat gun moving constantly and use a lower setting to prevent warping. For large labels, work in sections, re-heating as the peel progresses.
Method 2: Hot Water Soak
This gentle method works particularly well for smaller items like mugs, bottles, and jars that can be submerged.
What you’ll need:
-
Very hot water (around 75–80°C — not boiling)
-
Dish soap
-
Optional: lemon essential oil, white vinegar, or adhesive remover like Goo Gone
Steps:
-
Fill a basin with the hottest water your tap can produce
-
Add a few drops of dish soap to break the surface tension
-
Optional additions: lemon oil (contains d-limonene, a natural solvent), white vinegar, or liquid adhesive remover
-
Submerge the item and leave it for at least 1 to 2 hours
-
For older or stubborn transfers, go 3 to 4 hours or even overnight
-
After soaking, the transfer should lift easily with a plastic scraper or your fingernail while the item is still warm and wet
-
If it resists, soak it longer — do not force it
Note: If you use lemon oil, you must scrub the surface with isopropyl alcohol afterward. Any leftover oil will act as a “barrier” and cause your next transfer to peel off.
Method 3: Solvent Method
For stubborn residue that remains after the sticker is removed, solvents can dissolve the adhesive effectively.
What you’ll need:
-
Isopropyl alcohol (rubbing alcohol)
-
Acetone (only for glass and metal surfaces)
-
Soft cloth or cotton pad
Steps:
-
Apply solvent with a cloth or cotton pad
-
Let it sit for 1–2 minutes to soften the adhesive
-
Rub gently in circles until the adhesive lifts
-
Wash with soap and water to remove residue
Warning: Avoid harsh solvents on plastics as they can warp or weaken the material. Always test your chosen solution on an inconspicuous area first.
Method 4: Scraping Method
For smooth, flat glass surfaces like jars, mugs, or bottles, scraping can speed things up.
What you’ll need:
-
Razor blade or scraper
-
Plastic scraper (preferred for delicate surfaces)
Steps:
-
Hold the blade at a low angle (about 30 degrees)
-
Slide under the decal, lifting gradually
-
Pair with solvent or heat for best results
Caution: Razor blades may scratch the surface if you’re not careful. Always use plastic scrapers instead of metal to avoid etching the surface.
Method 5: Combination Method
For large tumblers or bottles with full UV DTF wraps, a combination approach works best.
What you’ll need:
-
Heat gun or hair dryer
-
Plastic scraper
-
Solvent
Steps:
-
Use heat to loosen the UV DTF transfer
-
Peel slowly while re-heating sections
-
Use solvent to clear residue
-
Scrape if needed on tough spots
Surface-Specific Tips
Glass: The safest methods are heat and hot water soaking. For stubborn spots, a razor blade held at a 30-degree angle can scrape residue without scratching.
Metal: Heat works well, and solvents like isopropyl alcohol are generally effective and low-risk. For painted or powder-coated surfaces, confirm solvent compatibility before broad application.
Plastic: Be cautious with heat — plastic can warp before the adhesive softens. Use a lower heat setting and keep the heat source moving. Avoid harsh solvents like acetone; stick to isopropyl alcohol.
Acrylic: Similar to plastic, acrylic can warp with excessive heat. Use low heat and gentle methods.
How to Remove Sticky Residue
Even after the decal comes off, there’s often a little haze or goo left behind. Here’s what works:
-
Rubbing alcohol on a soft cloth to wipe away adhesive
-
Baking soda + oil as a gentle natural scrub
-
Citrus-terpene removers for aged or heavily cross-linked residue
-
WD-40 can penetrate and soften the residue
Finish off with regular glass cleaner so there are no streaks.
Pro Tips for Successful Removal
-
Don’t rush it — peeling too fast can tear the decal or scratch the surface
-
Use plastic scrapers instead of metal to avoid scratching
-
Work slowly — adhesive tends to release in layers
-
Multiple light passes with a scraper are safer than trying to remove everything in one go
-
If you know you’ll want to remove it later, lighter pressure and careful application at first can make future removal easier
Can UV Stickers Be Reused After Removal?
No. UV DTF transfers are highly durable and, once removed, cannot be reapplied. The design cracks, the adhesive fails, and the transfer will not stick properly again.
When Removal Isn’t Worth the Effort
For very large surfaces or items where the sticker has been applied for years, removal can be challenging. Over time, UV exposure can cure the adhesive into a hard film that requires significant scraping. In these cases, consider whether it’s more practical to replace the item or cover the old sticker with a new one.
Need Professional UV Sticker Printing Instead?
At Krayon, we specialize in professional UV sticker printing in Nairobi, Kenya. Whether you need custom stickers for mugs, bottles, phone cases, awards, or promotional items, we deliver durable, waterproof, scratch-resistant results with no minimum order and same-day turnaround available.
Get a Quote
Ready to create professional UV stickers for your business? Chat with us directly on WhatsApp for pricing, turnaround time, and minimum order quantities.
WhatsApp us: +254 722 376 151
Krayon Enterprises — Lords House near Khoja Roundabout, Nairobi CBD, Kenya | Phone: +254 722 376 151 | Email: sales@krayon.co.ke | info@krayone.com | krayon.co.ke
No Comments